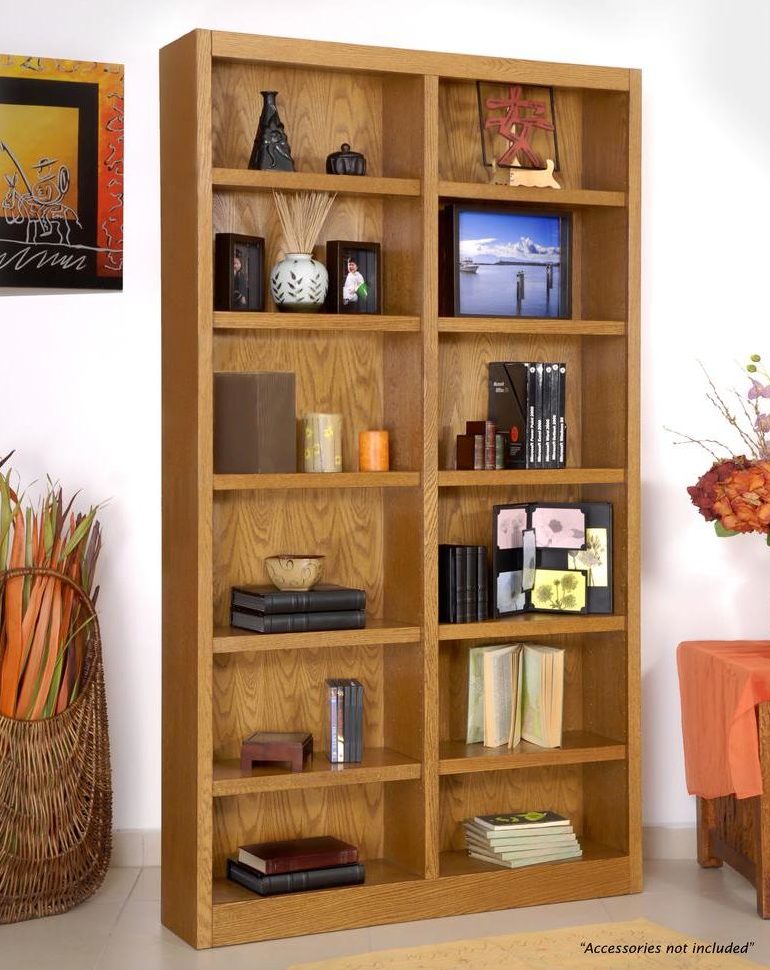
There are few storage solutions as versatile as a freestanding bookcase. With just one, you can neatly store and organize a wide variety of household items including toys, clothing, bed linens, towels, canned goods, shoes and—of course—books!
You can build your own bookcase from scratch if you have the time, tools and inclination. Or, if cost isn’t an issue, you can hire a cabinetmaker to custom-build one. However, the best storage solutions option for most homeowners is to purchase a ready-to-assemble (RTA) bookcase. This also happens to be the quickest, easiest and typically the least expensive option.
RTA bookcases come in kits for fast, no-fuss assembly—even novice DIYers can put one together in less than an hour. All the bookcase parts come pre-finished and cut to size. The kit also includes all the necessary hardware for fastening the parts together. A cordless drill will make the assembly easier and faster, but you can use common hand tools as well.
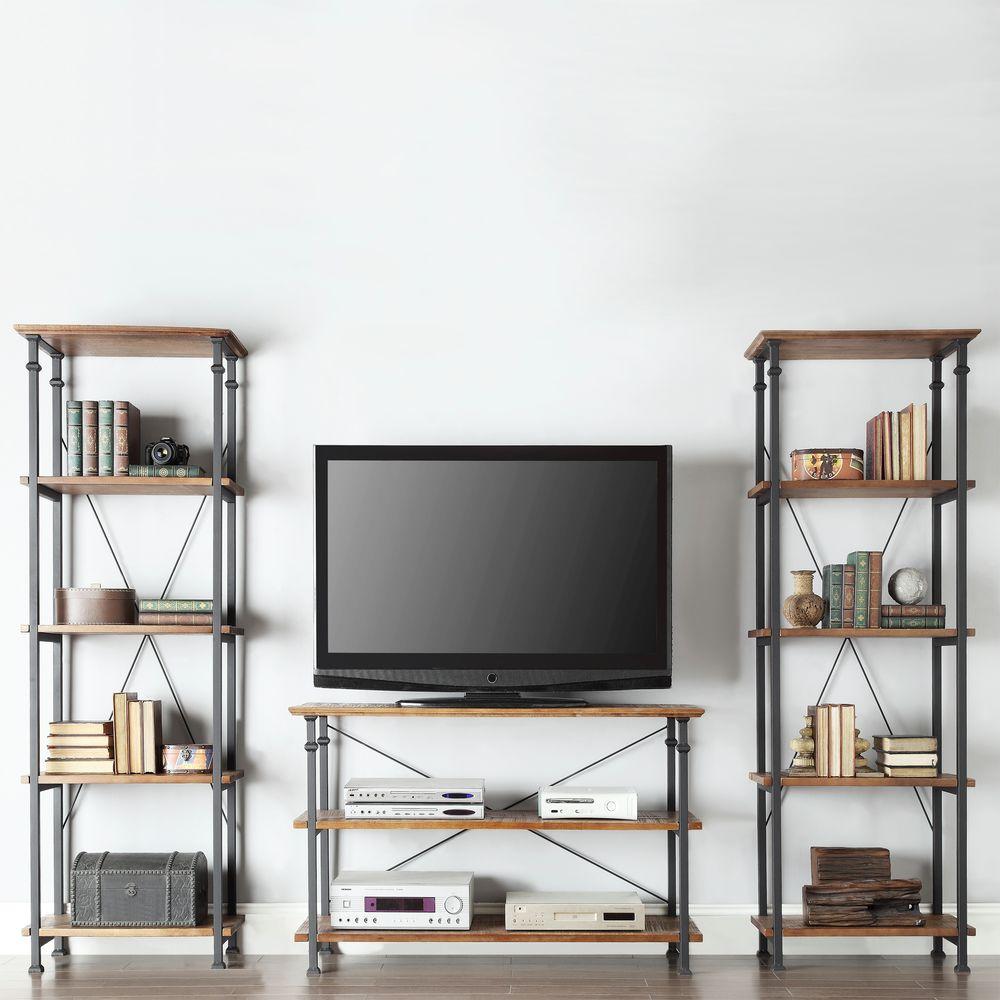
While most RTA bookcases are made of wood, some models add in some metal for a more contemporary or industrial design. Some of these storage solutions come with shelves that you permanently fasten in place. That design isn’t as flexible for the indecisive, but fixed-shelf bookcases are generally more structurally stable than those with adjustable shelves.
The first step to building an RTA bookcase is to remove all the parts and hardware from the box, and then check the instruction manual to confirm that you have each piece. Next, read through the entire manual to gain an understanding of the assembly process and learn what tools to gather.
After that, assembling the bookcase is a simple matter of carefully following the included step-by-step instructions. If you get stuck, check the manual for a toll-free help line phone number. Most RTA furniture manufacturers provide technical assistance.
Here are six assembly tips that apply to any bookcase:
- To avoid scratching or marring the bookcase parts, cover the floor with an old blanket before assembly. The blanket also makes it easy to slide or drag the completed bookcase into position against the wall.
- If a part doesn’t align properly with a pre-drilled hole, don’t force it. Instead, try loosening some previously installed fasteners.
- Though it’s not always obvious, shelves often have a front and back edge and a top and bottom surface. Check carefully to ensure each shelf is installed properly and not upside down or facing the wrong direction.
- Be careful not to over-tighten any screws or you may strip the holes or damage a part. This is particularly important when working with parts that have a particleboard core.
- If the bookcase is fastened together with nuts and bolts, check to see if the hardware package includes flat washers or lock washers. If you find flat washers, replace them with lock washers to keep the nuts from loosening up over time.
- To prevent a bookcase from accidentally toppling over, it’s important that you screw it to the wall. Be sure to drive the screws into wall studs or other solid framing.
Do you need a new bookcase to help organize the clutter around your home, or to provide a focal point for a room? Whatever you choose, don’t be intimidated by the assembly—you can handle it!
Joe Truini is a home-improvement expert who writes on DIY projects for the home, including remodeling and repair. Joe has authored six books, including the best-selling Building a Shed. Joe writes on do-it-yourself projects for Home Depot. DIY bookshelves available at Home Depot can be researched online here.


Leave a Reply