LESLIE: Well, what do you get when you mix a sunny, spring day and a neighborhood ball game? How about a baseball right through your windowpane?
TOM: That’s true. But whether it’s an actual break, a crack or other types of damage, you can replace that windowpane yourself. Somebody who’s not a pain is here to tell us how to do just that: it’s Tom Silva, the general contractor for TV’s This Old House.
 Hey, Tommy.
TOM SILVA: Hey, guys. How are you?
TOM: Now, what’s the best way to take the pain out of the windowpane project?
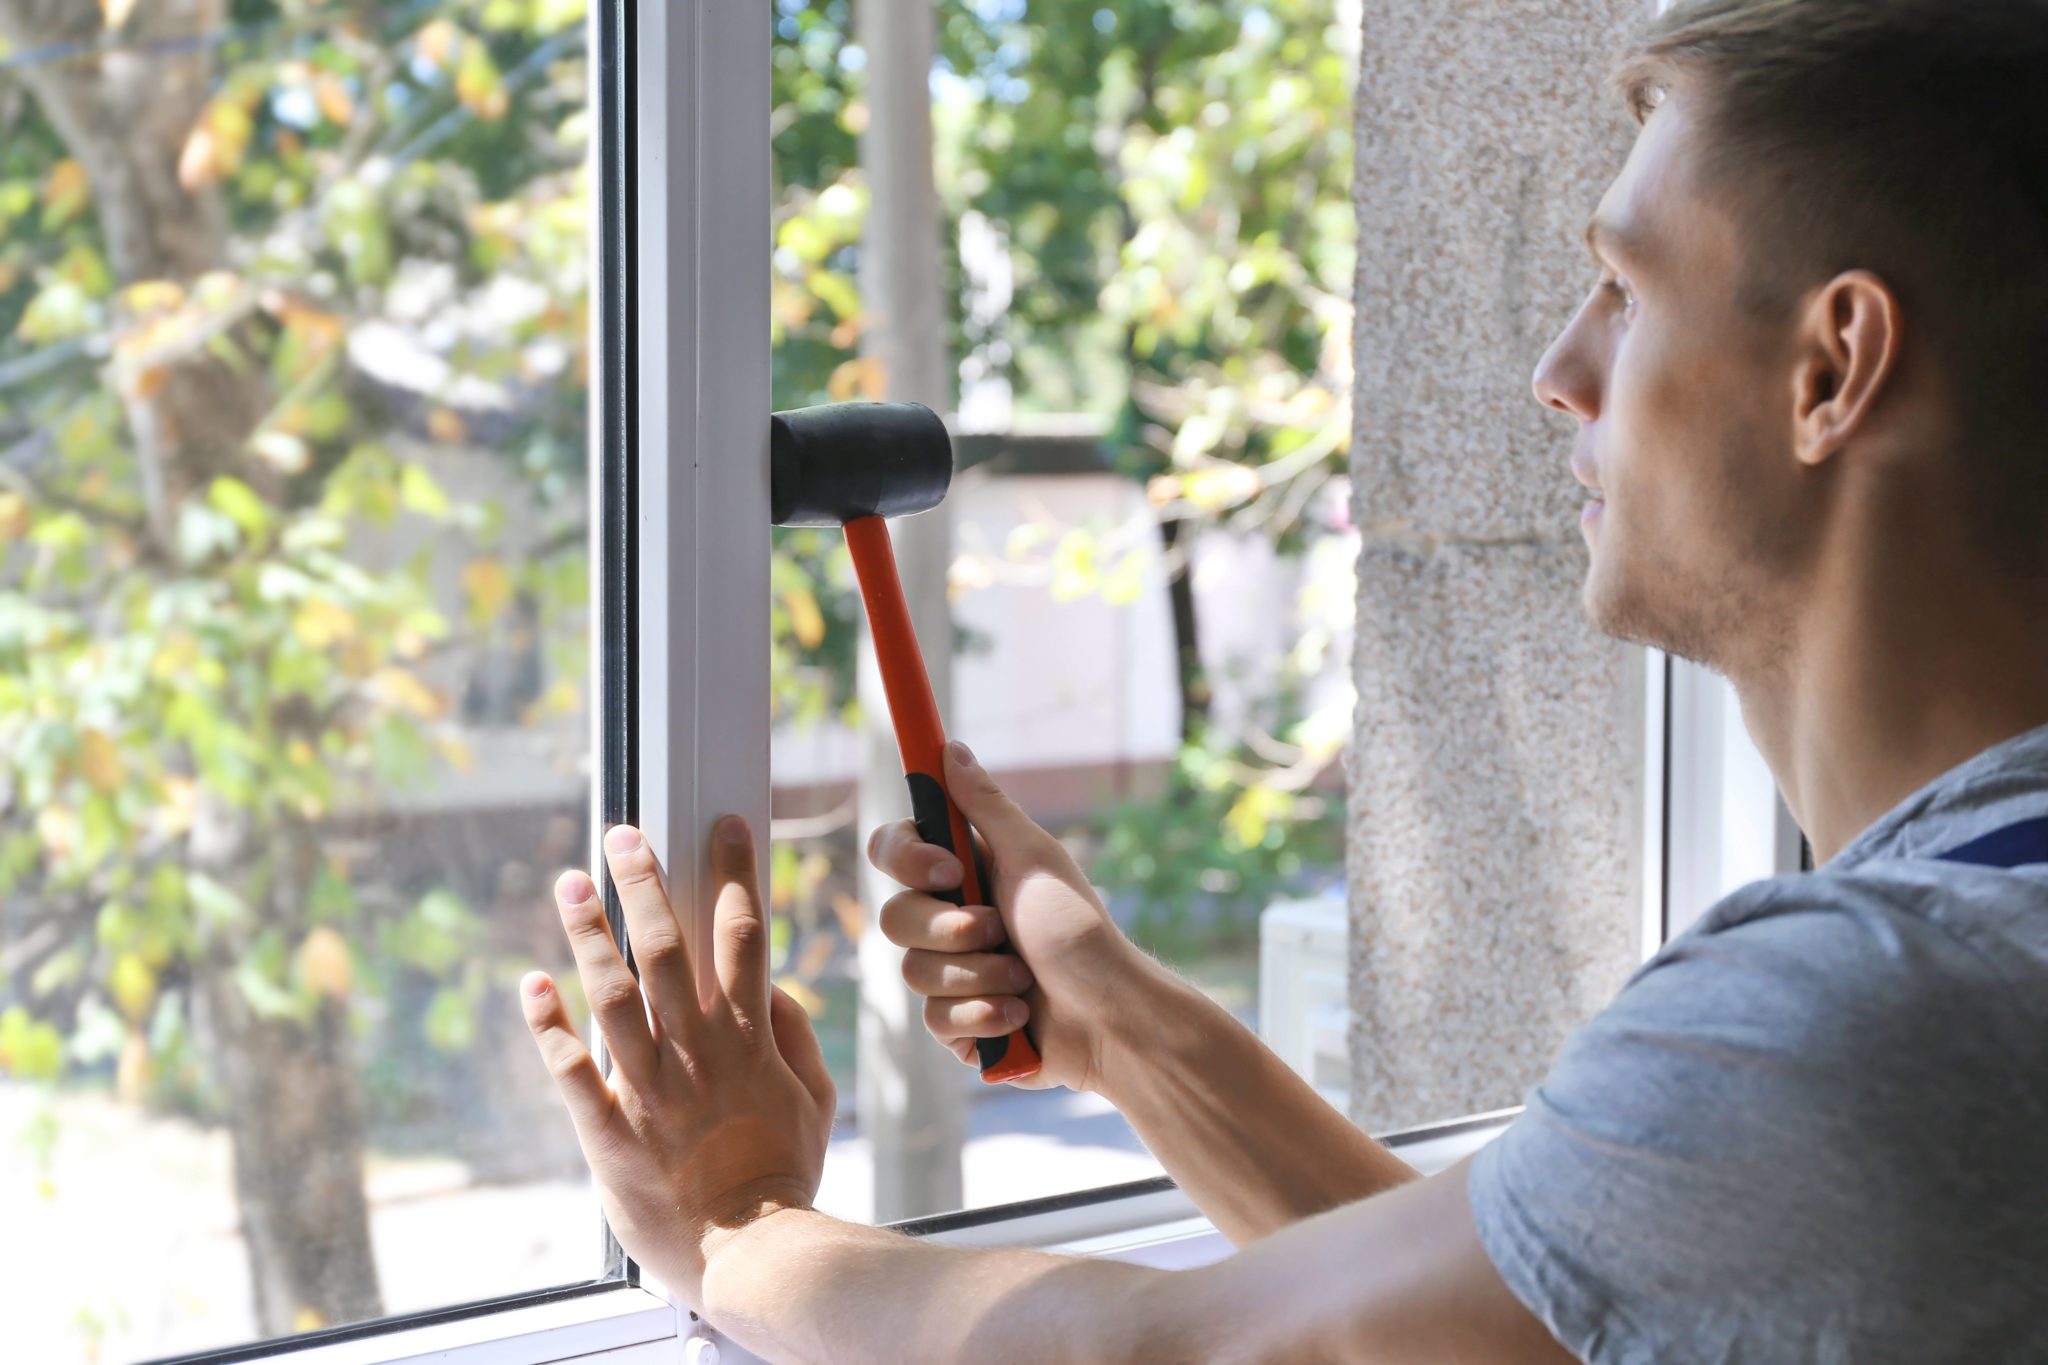
TOM SILVA: Well, the best way to take the pain out of the windowpane project is first of all, you want to make sure you have safety equipment on: safety glasses and gloves a must. Alright?
TOM: Now, can you replace a windowpane? Is there a difference here between, say, a typical, single-pane window and a double-pane window? Is there one you can do, one you can’t do?
TOM SILVA: Single-pane windows shouldn’t be a problem.
TOM: OK.
TOM SILVA: Double-pane windows are insulated windows. Usually, you have to get it custom-made to fit the opening and in some cases, you can’t even do it. You have to get – if your window sash is broken, you’re not going to replace the pane; you’re going to replace the sash.
TOM: So that might be a situation where you have to, essentially, order the part.
TOM SILVA: Yes.
TOM: But if we just have some single-pane glass in a wood window, what’s the best way to extract all those pieces and then sort of reset the pane?
TOM SILVA: Once you have your equipment on and you’re ready to roll – you have a rag and a hammer is always nice – you can go up there with the rag and a hammer and tap the rag. I like to sometimes put duct tape on the glass, too.
TOM: OK.
TOM SILVA: And that keeps the shards from blowing all over the place.
And once you’ve got pieces that you can grab and take out, always start at the top of the window and pull the pieces out. So if you start at the bottom and you pull a piece out, you don’t want the upper piece to fall out and cut you.
TOM: Right. It can stab you.
TOM SILVA: Start at the top, work your way down.
TOM: Gravity counts.
TOM SILVA: Exactly, exactly. And you get in all the window – all the glass out of the sash and now you’ve got to start cleaning up the glazing or the putty. Clean that all up, drag a scraper in there and get all the putty out, nice and clean, down to the raw wood.
Now, before you set the window in there, you obviously have to measure for the glass. You want to make the glass a little bit smaller than the opening. Now you’re ready to start putting the glazing in.
But before you even do that, you want to prime the wood. Now, you can use a wood primer or you can use a linseed oil to oil the wood. The reason you want to do that is because you don’t want that raw wood to draw the linseed oil out of your glazing. It will dry it out and cause it to crack.
TOM: Oh, interesting. So you’re really just stopping the absorptive qualities of the wood at this point and making sure that once you apply that glazing putty, that it stays pliable and does the sealing job and the adhering job that you really need it to do.
TOM SILVA: Exactly. Exactly, exactly. The glazing is doing a couple of things: it’s holding the glass in place – well, actually doing three things. It’s holding the glass in place, it’s keeping the rain out and it’s keeping the air out between the glass and the sash. So that’s important that it’s a nice, tight fit. And you don’t want the glazing to fall out.
LESLIE: And now that you’re getting ready to put in the new pane of glass, what do you do with that putty? Do you, essentially, need to make it into a roping?
TOM SILVA: Yeah, you want to work it with your hands; roll it back and forth just like you make dough, you know? Make a snake, roll it back and forth. While it is soft and warm, you can just push it right in that – that’s called a “rabbet.” You can lay it right into that rabbet and then you’re going to have a nice bead. Push it around with your thumb, whatever you have to do. Take the glazing and lay it into that wet glazing compound or putty and work it back and forth until you get a nice seat there. You want to make sure that you have a nice, even size on the inside. You scrape away all the excess putty.
Now you want to take these little, metal points; that’s window points.
TOM: Points. Yeah, the window points.
TOM SILVA: And you just slide them right in on the surface of the glass, right into the wood. That holds the glass in position.
TOM: Those are very handy to have, too.
TOM SILVA: Very handy, yeah.
TOM: And they actually embed themselves into the final glazing (inaudible at 0:24:06).
TOM SILVA: Looks like a little arrowhead with points going in both directions.
TOM: Right.
TOM SILVA: And there’s a couple …
LESLIE: And that’s acting like a wedge.
TOM: Right.
TOM SILVA: Yeah, it acts like a wedge that drives into the wood. That’s right.
TOM: We use them in picture-framing, too, sometimes, yeah.
TOM SILVA: Sure, absolutely. And there’s different types. They actually have a type that’s totally flat and there’s another type that actually is flat with two, little pieces sticking up that you can actually take your putty knife and push the tip into the wood.
TOM: Right.
TOM SILVA: So they – once that’s in place and it’s holding it, now you’re going to reglaze, again, the outside of the window, on top of the glass and covering the points.
TOM: Now, you mentioned a putty knife. A glazing tool comes in pretty handy if you have to do a bunch of these, doesn’t it?
TOM SILVA: And a glazing tool is pretty nice, yeah.
TOM: Because it helps you with the putty-knife function of being able to push those window points in and then also sort of a troweling function of pressing the – getting the angle to get the clean edge when you’re done.
TOM SILVA: Holding it. Yeah, nice angle. Right, right.
But if you’re like me, a Yankee, you’re cheap; you don’t want to go buy that tool. So you’re going to use whatever you’ve got.
But then you’re just going to force the glazing compound into the window and then you’re going to take the puttying tool and hold it about a 45-degree angle, start in the corners and work your way out, make it nice and smooth.
LESLIE: Now, Tommy, what about finishing the project? Do I have to wait a certain amount of time to let everything cure and really adhere well or can I go right ahead and paint it?
TOM SILVA: Yeah, you want that glazing compound to skin over; you don’t want to paint right away. That oil is in that area and the paint is not going to stick very well anyway. So you want to make sure that it skins over, so usually a couple of days is a good idea.
But you also want to make sure that when you paint over the glazing compound, a little bit of a line about – not even a 1/16-inch of the paint should actually touch the glass.
TOM: And then the final thing you should do is find the baseball and give it back to the kids, right?
TOM SILVA: Yeah, exactly. Yeah.
TOM: And send it through your window. Tom Silva from TV’s This Old House, thanks so much for stopping by The Money Pit. Great advice.
TOM SILVA: My pleasure.
LESLIE: Alright. Catch the current season of This Old House and Ask This Old House on PBS. For your local listings and some great step-by-step videos on projects you can do around your house, visit ThisOldHouse.com.
TOM: And Ask This Old House is brought to you by Stanley Tools. Stanley, make something great.


Leave a Reply