
Painting is one of the easiest home improvements that a homeowner can make and can totally transform a room. A good painting plan is key though, and so is preparation. That means paint product choices, surface care, and even choosing the right time of year to begin your painting project. Roll through the following tips for painting and the best preparation steps to a beautiful paint finish.
Step 1. Choose the best paint for your project
Paint comes in latex and oil based formulations and finishes ranging from flat to high gloss. The painting combination you choose depends on the how much you use the space you’re painting. Flat paints work well for walls that may have some blemishes as flat paints reduce the reflection of room lighting that can highlight the blemishes. Ceiling paints are specially formulated to minimize dripping, and shiny finishes like satin and gloss work well for trim.
For long lasting painting results with any paint selection, you should plan on applying two coats of paint preceded by a primer of the same formulation. Once you’ve tallied the resulting quantities, add a bit more paint than you think you’ll need. Many stores are actually willing to accept returns on unused paint, even if it’s in a custom color, and having extra paint means you’ll avoid color matching problems if you run short.
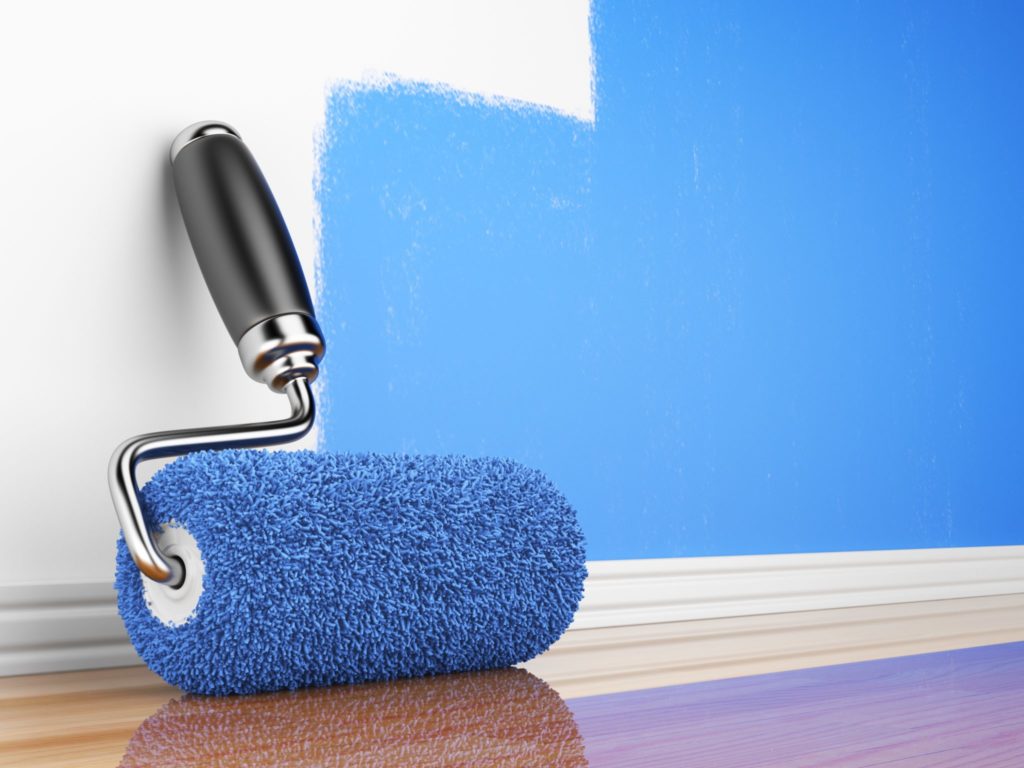
Step 2. Use best brushes and rollers
One often overlooked tip for painting perfection is to select the proper paint brushes for the job, and there are choices to be made there too. Bristle paint brushes are available with either synthetic or natural bristles, also known as china bristles. For the best paint results, use a synthetic brush with latex paint and natural bristles with oil based paint.
Paint rollers make quick work of large surfaces, except when you’ve chosen the wrong pile height and nap for the paint finish, so follow the paint manufacturer’s guidelines, taking care to remove any loose fibers that could mix with the paint and wind up on your wall.
When it comes to painting tools, don’t try to cut corners by going cheap, because you’ll end up spending more in the end, either because cheap materials don’t last as long, or because you’ll end up with a poor application that requires extra coats or touch-ups. High quality tools will help you apply the paint more evenly to get professional-looking results, even if it is your first time painting.
Step 3. Prepare the area for painting
The first step in painting preparation is to scrub away any accumulations of smoke, oil and grime that can keep your new paint finish from adhering to the surface. Use liquid sandpaper to remove buildup from trim, and wash walls down with a TSP (trisodium phosphate) solution, available at most home centers and hardware stores. Use a sponge head floor mop for TSP application to avoid a ladder – liquid mishap.
Once cleaned surfaces are completely dry, here are some tips on how to smooth them out. This is where a lot of the work happens, so don’t skimp or get lazy with the details, because a new coat of paint won’t hide them. Take time to fill all holes and cracks, followed by a thorough all over sanding and removal of the resulting dust.
Step 4. Mask and protect surfaces
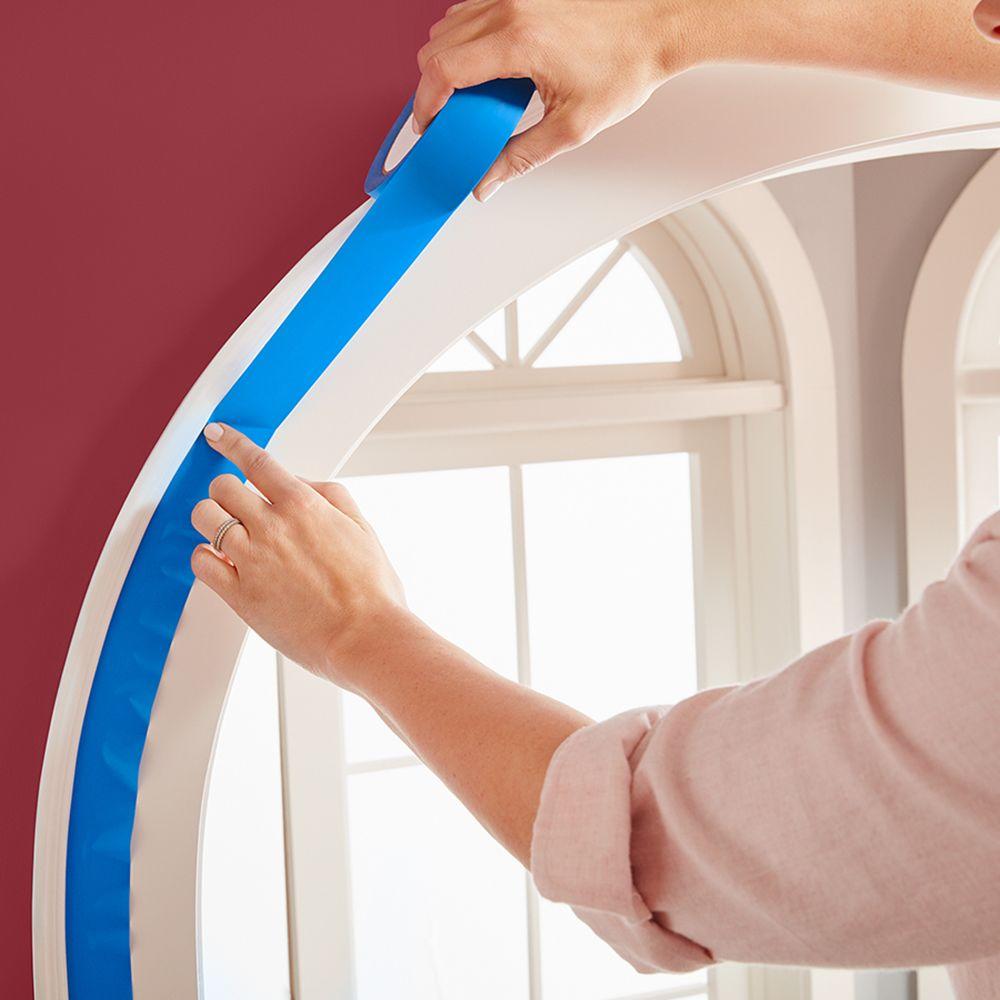
Protect everything you don’t want painted and create a clean edge for every paint coat. Take your time, because whatever you leave to chance will only be defined by the new paint color you’ve chosen. Apply painter’s tape along trim and glass edges. Use painter’s tape in combination with plastic sheeting or masking paper to cover fixtures that can’t be moved, and large surface areas to be left out of the equation. Also take the time to remove switch and socket plates, and all possible hardware. Put tape over remaining switches and plugs.
Step 5. Ready – Set – Paint!
When you’re this kind of time and effort into a paint job, you want that paint job to last. That’s where good paints really pay off. Top quality 100% acrylic latex paints are extremely durable, plus they resist fading, so your paint job will look great for years to come.
Before you start your paint job, check the temperature, because paint won’t adhere if it’s below 55 degrees and won’t go on smoothly if it’s above 90 degrees.
Get started with your primer, cutting in around edges first and then filling in surfaces. After the primer has thoroughly dried, apply your new shade of paint in two rounds for a durable, beautiful paint finish.
So if you think you’re up to the job, put yourself to work doing your own interior painting. You’ll be rewarded not just with the money you save and a high return on your investment, but also with the satisfaction of a job well done, and a beautifully transformed room, every time!


Paint is peeling from the eves. I intend to hire this done due to height. Do you sand first? I assume you should get an estimate first. After sanding, does plaster need to be applied? Then sanding again.
Thank you in advance for your time.
Sincerely,
Carole L. Johnson
[email protected]
815-756-7684 in DeKalb, Il 60115 on WLBK 1360