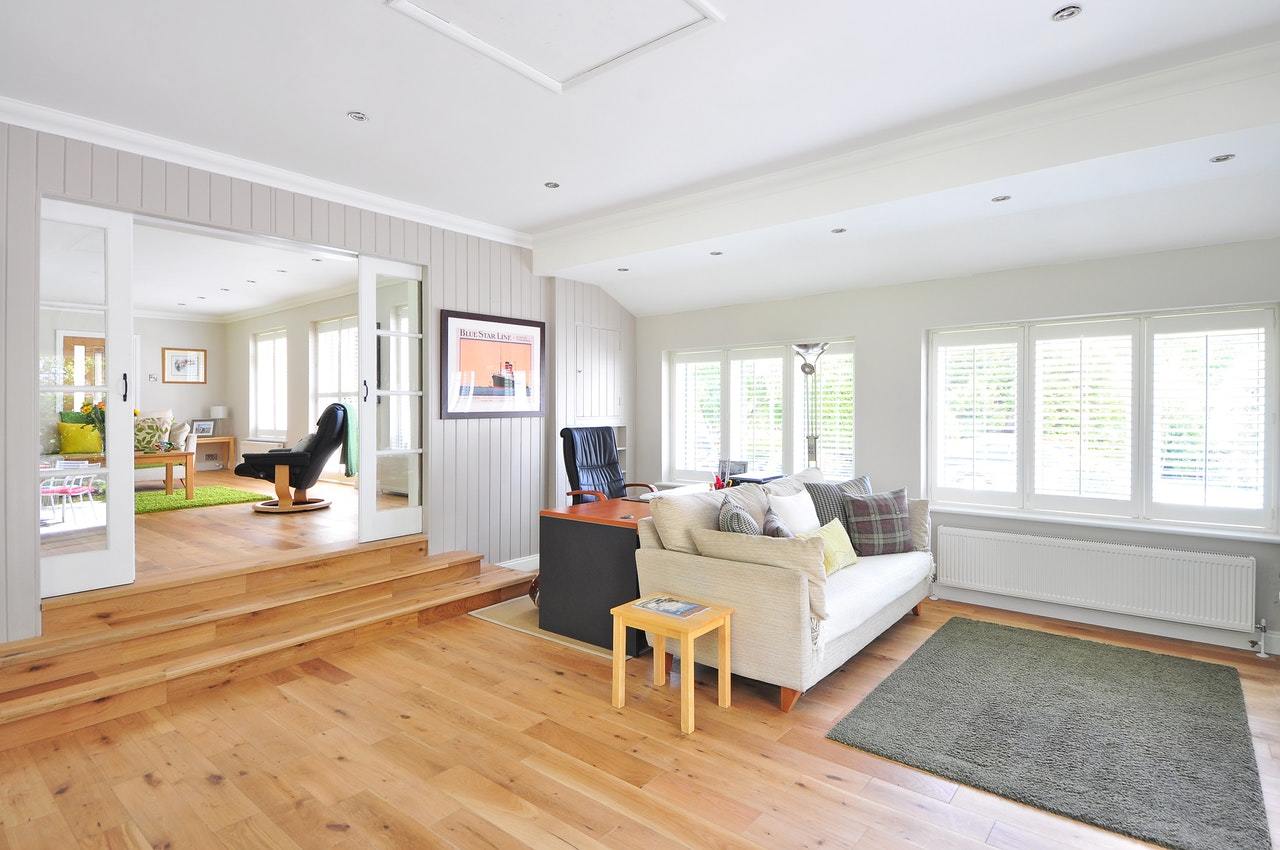
If you’re fortunate enough to have beautiful, salvageable hardwood floors, refinishing them on your own is a definite DIY possibility. The materials are readily available, the tools are inexpensive or can be easily rented, and the results are always worth the effort.
As with any home improvement project, preparation is important. And although hardwood floor refinishing can potentially be tackled by a homeowner, depending on how heavily damaged your floor is, you might need to call in a pro to handle the sanding portion of the job. Here are the steps to take toward new life for your floor.
Step 1: Get ready for refinishing
Refinishing your floors will take a room out of service for some time, quite possibly for longer than you’ve originally planned. Use this opportunity to remove, store or toss anything that you don’t need on your way to creating the blank canvas of a floor you’ll need to work on.
Step 2: Vacuum the old floor
Remove as much dirt as possible so that it doesn’t mix in during the sanding process and further stain the floors.
Read Transcript
Damaged hardwood floors aren’t something you have to live with, and you don’t have to hire a pro to refinish them. With some elbow grease, and the right tools and materials, you can breathe new life into old hardwood floors all by yourself over a long weekend, saving yourself some money in the process. Here’s what you’ll need to refinish hardwood floors by yourself:
TOOLS & MATERIALS
- Hammer
- Pry Bar
- Paint Stirrer & Tray
- Cordless Drill/Driver & Bits
- Tongue & Groove Pliers
- Respirator
- Broom & Wet/Dry Vac
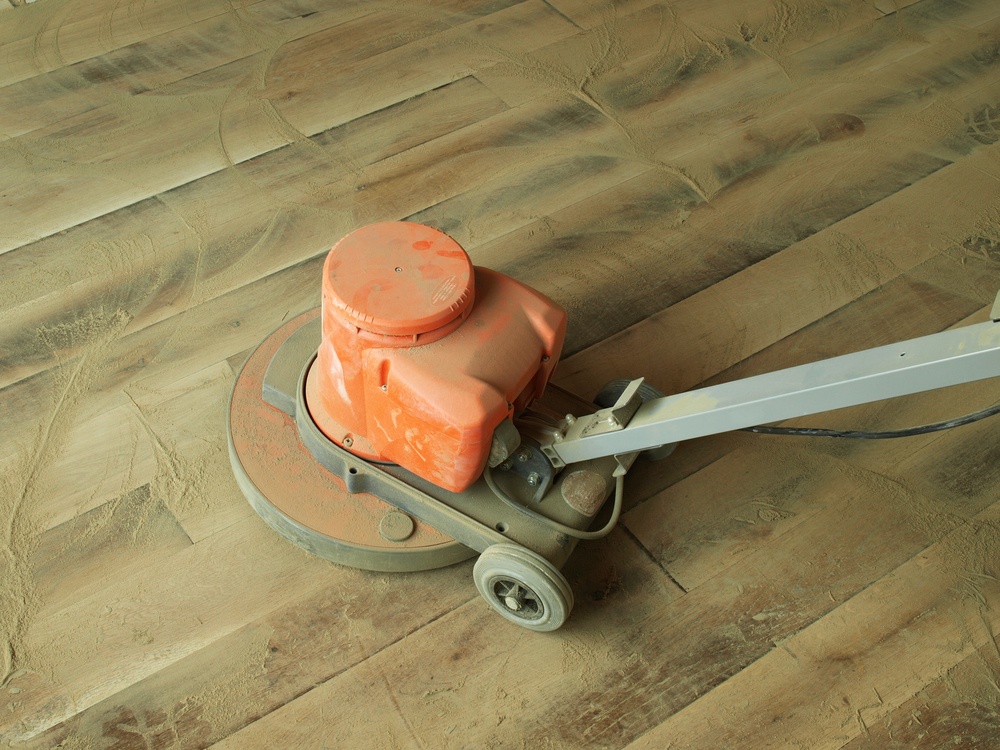
- Drum or Oscillating Floor Sander
- 36, 60, 80 & 120 Grit Sanding Pads
- Square-Base Palm Sander
- Water or Oil-Based Polyurethane Finish
- Microfiber Cleaning Cloths
- Mouse Detail Dander
- Synthetic Painter’s Pad
- Lamb’s Wool Applicator
- Plastic Drop Cloths
- Painter’s Tape
- Stain
- Wood Filler
- Putty Knife (optional)
When taking on this DIY task, be sure to equip yourself with the proper safety gear.
SAFETY GEAR
- Eye Protection
- Ear Protection
- Gloves
- Mask
STEP ONE
Remove Base Molding. Start by removing your base molding. Use a pry bar to gently pry the trim away from the base of your wall. If you plan on re‑using the boards, protect them by prying against a shim or paint stirrer.
STEP TWO
Prep Floorboards. You want your floor to be as stable as possible for this project. Secure any loose or squeaky floorboards by drilling 1/16th-inch pilot holes, then hammering in 8d finish nails. Remove tacks and staples with pliers, and fill holes with water-based wood filler.
STEP THREE
Choose a Sander. The type of sander you’ll use depends on the condition of your floor. Drum sanders, which can be rented at local hardware stores, are great for deep wear and tear. Floors with less damage can be sanded with an orbital or oscillating sander.
STEP FOUR
Seal Room. Sanding hardwood floors creates a lot of dust that will spread across your entire house if you’re not careful, so sealing the room or rooms you’ll be working on is essential. Seal all interior doors with painter’s tape and plastic drop cloths, and tape plastic over HVAC vents. You want to air out your home as you work, so open windows to increase air flow.
STEP FIVE
Sand. Large industrial sanders can be hard to handle. Give yourself some time to get comfortable with your sander by starting your project in the least visible area of your floor. We recommend practicing with 60 or 80 grit sandpaper to avoid damage. You’ll be using a few different sandpapers to refinish your floors. Typical floor sanding begins with course 36 grit paper, followed by 60 grit, 80 grit, and 120 grit.
STEP SIX
Sand in a Pattern. Once you’re comfortable with your sander, install a courser paper. We recommend 36 grit. Sanding parallel to the boards, work the sander back and forth over a 4‑foot length of floor, overlapping strokes by about one-third of the base.
STEP SEVEN
Tackle edges and corners. Big sanders aren’t able to get into hard-to-reach places, such as baseboards and corners, so you’ll need to use a palm sander and mouse detail sander for those areas. Sand edges and corners with the same grit after each pass. Be sure to sand edges parallel to floor planks, and overlap previously-sanded areas by about four to six inches. After your final pass with 120 grit paper, sweep and vacuum with a wet/dry vac.
STEP EIGHT
Get Rid of Dust. To get the perfect final finish, you’ll need a dust-free floor. Vacuum the floor twice, then use microfiber cloths to collect anything left behind.
STEP NINE
Stain and finish. Now that you have a newly-sanded floor, you can stain it whatever color you’d like — something you can’t do with a finished floor. So take your time and select exactly what you’d like. You can apply your stain and then a polyurethane finish, but a combined stain/polyurethane is a big time-saver. The trick for perfectly stained floor is to apply the same evenly, wiping it in a way that leaves a consistent color without an edge. Use a synthetic painter’s pad to apply the stain, working with the grain. Stain a four- to six-square foot area at a time, immediately removing excess with a clean absorbing rag, and checking for consistency as you go. Wipe away excess stain on any overly dark areas, and allow to dry per manufacturer’s instructions.
Your project is complete step back and admire your newly refinished hardwood floors.
Looking for great tools to help get your project done? Shop Stanley, Black & Decker and DeWALT for everything you need!
Step 3: Best way sand a hardwood floor
Sanding the floor is an important step. If it isn’t badly damaged, a light sanding will do, but if it is damaged or you’re changing the color of the wood and need to remove all the old stain, then a heavier sanding should be done. For light sanding, rent a floor buffer with a sanding screen or use a machine called a “U-sand.” However, if the floor is badly damaged, a floor belt sander is needed. This is a difficult tool to use, so unless you have lots of experience, hire a pro to handle this step.
After sanding, you’ll need to do a good job of removing as much dust as possible. Vacuum the floor thoroughly, use a tack cloth, or damp-mop it. If you don’t remove the dust, it will get trapped in the new finish, float to the surface and make it rough.
Step 4. How to apply finish to a hardwood floor
Use an angled brush to “cut in” the new finish along the walls. Then, using a lambswool applicator (this looks like a sponge mop and is available at most home improvement centers), apply oil-based polyurethane, working your way out of the room as you go. Apply two to three thin coats, allowing plenty of drying time in between. Although water-based polyurethane is available, we don’t recommend it for floors. It simply doesn’t wear nearly as well and with the work it takes to refinish a floor, it’s not a project you’ll want to repeat anytime soon.
After the last coat of polyurethane, you’ll need to plan to be off of the floors for several hours of anticipated drying time. In fact, it’s best to avoid heavy traffic on a floor for several days after the last coat is applied to give the finish time to really set in. However, if practical detours aren’t available, use drop cloths for a few days over the areas you need to walk on. This’ll protect them while allowing enough air to get to the floor so that the drying process can continue.
Move your furniture back in, plop down on the couch and say a little prayer that you didn’t just scratch the newly refinished floor!


When we put in our three-quarter inch Hickory floors about eight years ago the installer recommended that we used a product called Monocoat because we wanted a minimum upkeep floor. We had no idea exactly what it was but this installer is known for doing complete basketball courts for NBA and high schools ,so we trusted him. Basically they put the solution on the bare floor and buffed it in first with a red pad then with a white pad them with a shaggy carpet like pad. Today, the floor looks as it did at first, Since this product bonds chemically with the wood you cannot put on a second coat because the original bonding prevents more bonding. One of the cool things is that if the floor should get scratched you only have to, if needed, prep just the scratch with 220 grit and then apply a miniscule amount of the Monocoat (without worrying about matching, it only bonds to the scratch) wait a few minutes and wipe it off – Done!
We had a second, adjacent, hickory floor install about 3 years later and they match perfectly.
So, this year we had 3 bay windows replaced with unfinished wood veneered Andersen’s, Yeah, I’m always looking for the most efficient approach. So I tried Monocoat. Winner! Very fast application. I applied with a foam brush and my wonderful bride followed by wiping it off. Pulled the masking tape and found some on the glass a couple days later. To our delight it easily wiped off. Done, no need for a top coat of poly.
Another nice thing is that though it is expensive ($170/qt) it took about 6 ounces of product to do the three windows.
…and it comes in a myriad of colors.