fbpx
  • Menu
  • Skip to left header navigation
  • Skip to right header navigation
  • Skip to primary navigation
  • Skip to main content
  • Skip to primary sidebar
  • Skip to footer

Before Header

  • Facebook
  • Instagram
  • Pinterest
  • Twitter
  • YouTube

The Money Pit house logo

Home Improvement Tips & Ideas

  • Start Here
  • Money Pit Podcast
  • Media Kit
  • Posts
  • Search
  • Start Here
  • Money Pit Podcast
  • Media Kit
  • Posts
  • Search
  • Spaces
    • Kitchens
    • Bathrooms
    • Home Exteriors
    • Garages & Sheds
    • Outdoor Living
    • Basements & Crawlspaces
  • Reno/Repair
    • Heating
    • Floors
    • Windows
    • Roofs & Gutters
    • Lighting & Wiring
  • Popular Topics
    • Storage & Organization
    • Painting & Decorating
    • Cleaning
    • Pests & Wildlife
    • Buying or Selling a Home
  • Features
    • DIY
    • Pet Friendly
    • Green Home
    • Quick Tips
  • Podcasts
    • Subscribe
    • The Money Pit Podcast
    • Your Calls, Our Answers Podcast
    • Money Pit Minute Podcast
    • Top Products Podcast
You are here: Home / Outdoor Living / Decks & Patios / How to Install Lattice Under a Deck
Decks & Patios

How to Install Lattice Under a Deck

Tom KraeutlerUntitled-2 Leave a Comment [Sponsored by: Arrow Fastener]

Facebook0Tweet0Pin0LinkedIn0Email0
Trex lattice on wood deck
Photo credit: Trex Lattice Works

Having a deck to call your own is one of the most satisfying parts of owning a home. Spring is the perfect season to get that deck ready for the enjoyable seasons ahead, filled with friends, family and great outdoor conversations.

You should always begin the season with a thorough inspection of your deck to make sure that all points fastened to your home and all railings are secure. If any decking boards are warped or cracking, you can remove them and turn them over, reattaching them to the structure with deck screws (most cracks and twists are caused by exposure to sunlight. By turning the board over, you have a fresh surface once again!).

Next, give your deck a proper pre-season cleaning using a pressure washer and deck cleaner. Let the surface dry thoroughly, and if the deck also needs refinishing, make that job next on your list. A solid stain is a great choice for an older deck, as it will cover any wear but still allow the beautiful wood grain to show.

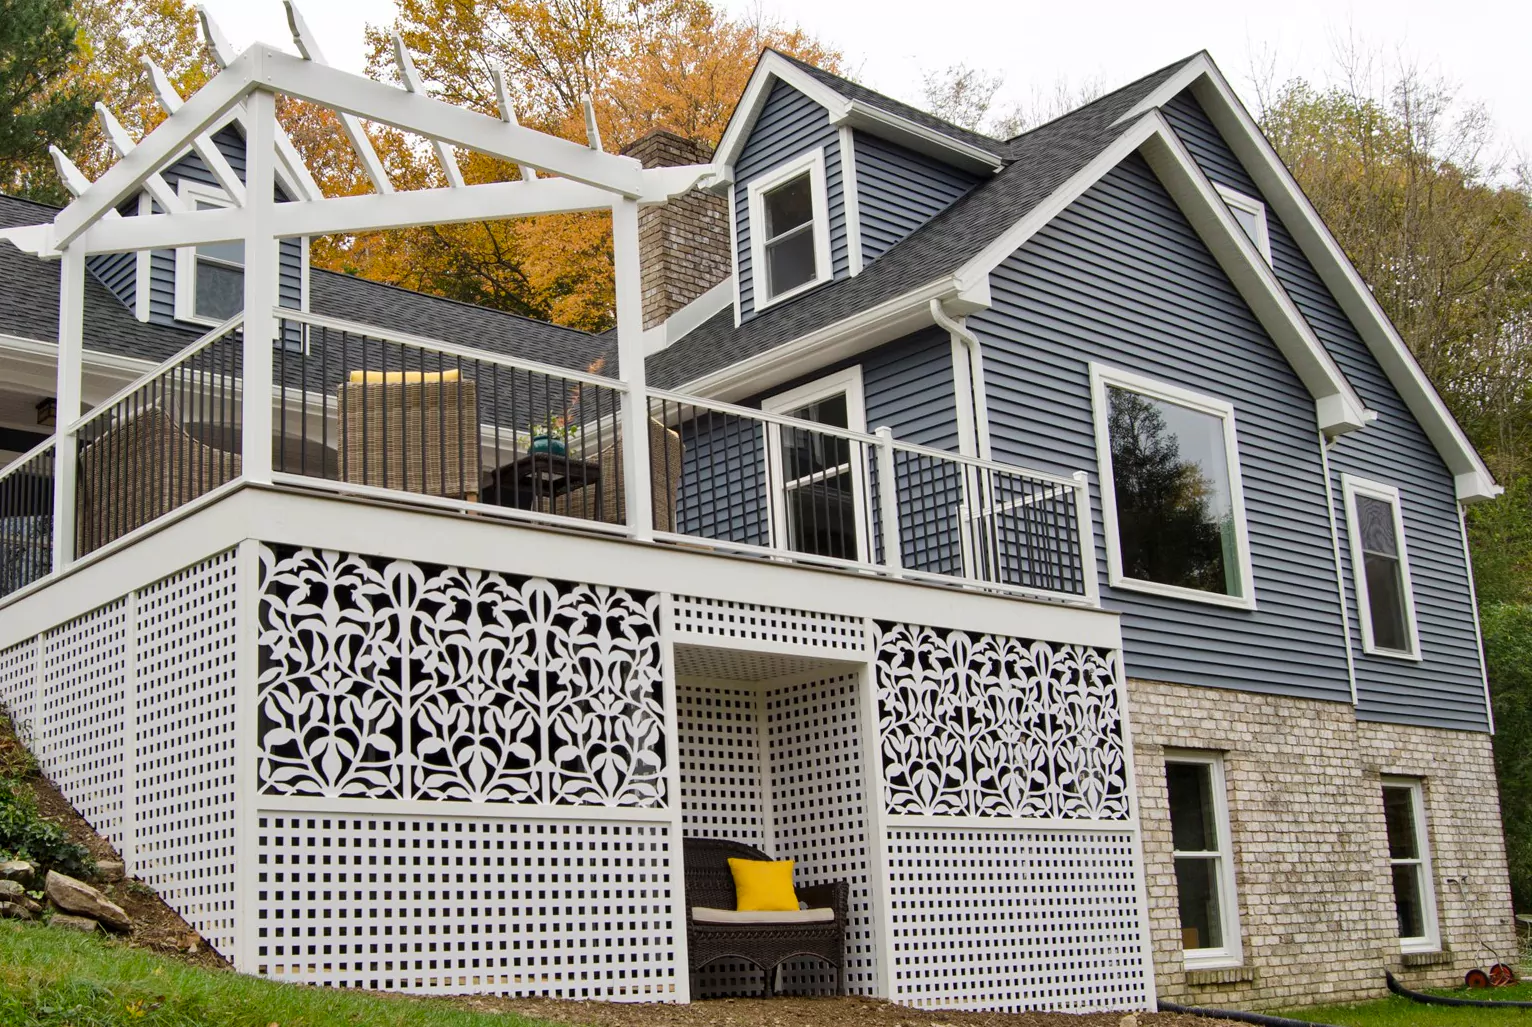
To make your deck really stand out, why not finish off exposed areas underneath with decorative lattice? Here’s how to tackle this simple weekend project.

Storage under a deck cover with lattice
The space under a deck can make for a handy storage area.

Supplies

  • Exterior wood lattice
  • Exterior trim pieces for the lattice
  • Arrow EBN320R.E.D.™ Electric Brad Nail Gun
  • Arrow 1-inch BN18™ brad nails
  • Arrow 2-inch BN18™ brad nails
  • Hand saw
  • Measuring tape
  • Pencil

Deck Lattice: Steps

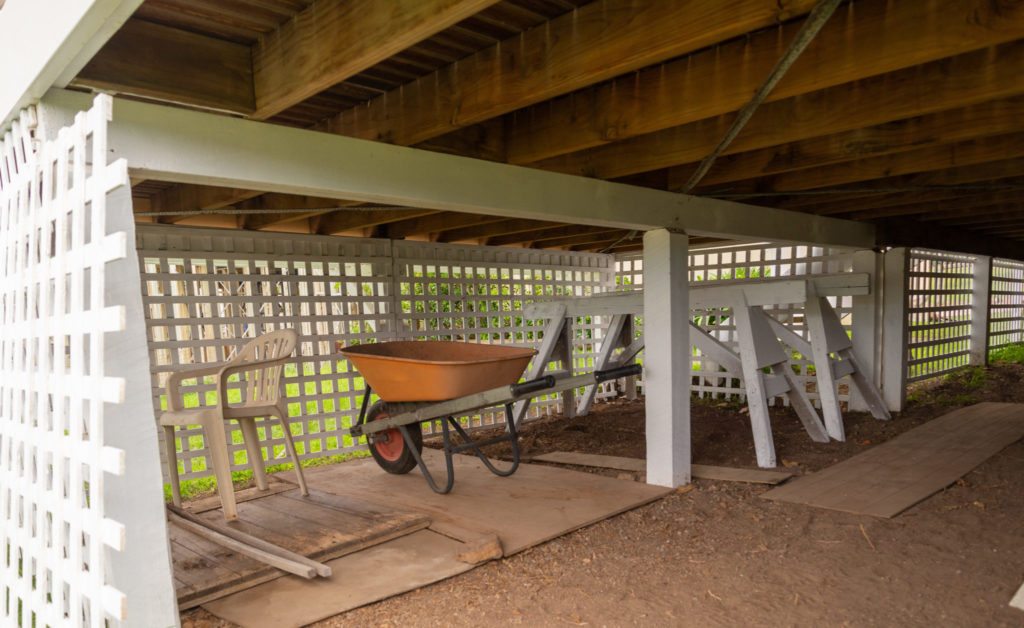
  1. Measure the open areas below your deck to determine dimensions for the lattice panels.
  2. Cut the lattice panels to sizes needed. Pressure treated lattice is available in 4-foot by 8-foot or 2-foot by 8-foot panels that will fit most needs. You can also save a step by having the pros at your home center cut the panels for you.
  3. Attach the lattice panels to the open areas of the deck using your Arrow EBN320R.E.D. Electric Brad Nail Gun with 1-inch brad nails, securing at every criss-cross point in the lattice. Fasten the top edge of the lattice onto the apron area below the decking, and attach the lattice sides to the vertical decking supports.
  4. Cut your trim pieces to size to create a frame around the newly attached lattice. For the corners, you can either miter-cut the trim ends to create a professional-looking joint or overlap the top and bottom trim pieces with the side trim pieces. Secure all trim pieces in place using the Arrow EBN320R.E.D. Electric Brad Nail Gun and 2-inch BN18™ brad nails.
Outdoor deck with a lattice style railing

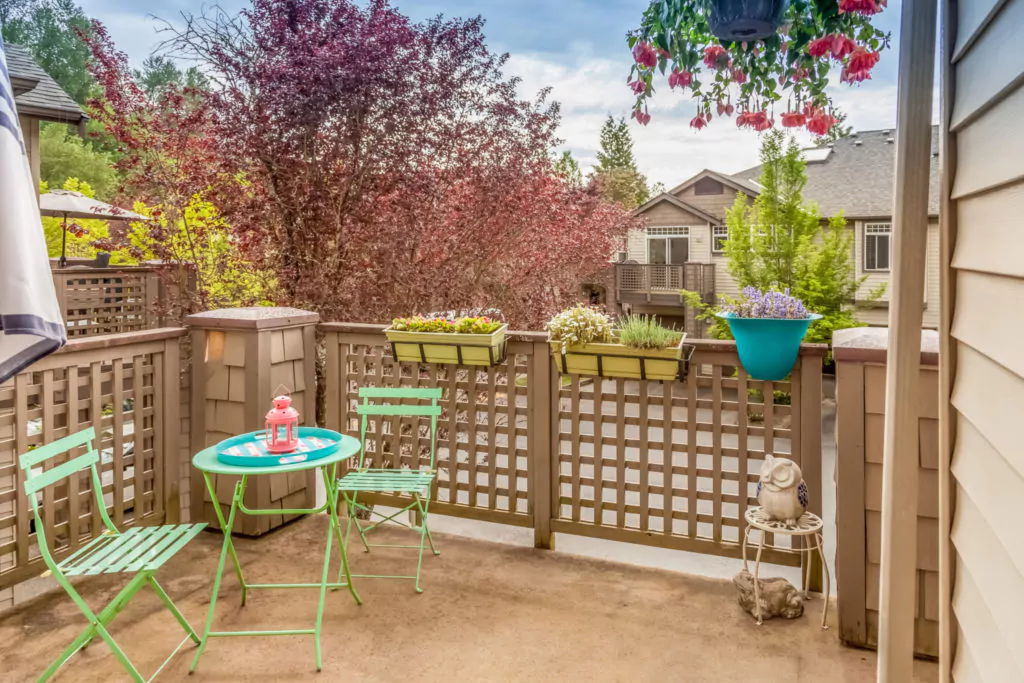
Now that you have completed this super-quick deck makeover, give the lattice and trim pieces a summer to dry out in order to make them weatherproof.  This will ensure that any finish applied later will actually stay put.

Related Posts

Outdoor patio with fire pit6 Outdoor DIY Projects for an Inviting Backyard Getawaydeck, treated wood4 Steps for Refinishing a Wood DeckWood deck being constructedPrevent a Deck Collapse with This 10-Point Checklistfooting for deck, deck design5 Secrets to an Amazing Backyard Deck Designdeck design, deck material, outdoor projectsWood Deck: How to Repair, Restore, Stain and Refinishdeck, deck cleaning, patioWood Deck Construction Vs. Brick Patio Pavers

Related Podcasts

The Money Pit Your Calls Our Answers Podcast LogoGive Your Deck a MakeoverThe Money Pit Your Calls Our Answers Podcast LogoDeck Mold Treatmentpaint a wood deckWhen Staining Deck Goes WrongThe Money Pit Your Calls Our Answers Podcast LogoReplace a Warped, Uneven DeckThe Money Pit Your Calls Our Answers Podcast LogoDeck Sealing TipsAsk The Builder’s Tim Carter Delivers Stain Solving Solutions
Facebook0Tweet0Pin0LinkedIn0Email0
Decks & Patios

About Tom Kraeutler

Tom is the Host, Founder and Chief Home Improvement Evangelist of The Money Pit. He is a hands-on home improvement broadcast journalist and the kind of guy homeowners want to call at midnight -- when their basement floods!

Reader Interactions

Leave a Reply Cancel reply

Your email address will not be published. Required fields are marked *

This site uses Akismet to reduce spam. Learn how your comment data is processed.

Footer

Favorite Posts

Best Heaters for a Garage: Forced Air, Infrared or Portable?

Basement Waterproofing Tips | How to Fix a Wet Basement

How to Make Natural Wood Stain Using Coffee, Berries & More!

How to Floor Your Attic Without Wrecking Your Roof

10 Easy Recipes for Natural Cleaning Products

Popular Podcasts

Episode # 2080: Stopping Noisy Plumbing | Fast Fix for Loose Wallpaper | Solutions for Smelly Water | Your Q & A

Episode #2079: Low-Voltage Landscape Lighting | Automatic Pet Doors | Kitchen Cabinet Organization | Your Q & A

Episode #2078: Quick Ideas for Curb Appeal | Top Home Repair Mistakes | Cleanups for Driveways & Walks | Your Q & A

Episode #2077: Paint Colors that say Wow | Top 5 Projects for ROI | Easy Fix for Noisy Radiators | Best Floors for Damp Places

Episode #2076: Kitchen Spruce Ups for Renters | Secret Code for Best Air Filters | Power Plan for Black Outs | Your Q & A

Newsletter

Get weekly updates with the latest tips and tricks to save money in your home.

No spam, ever.

  • Facebook
  • Instagram
  • Pinterest
  • Twitter
  • YouTube

Site Footer

  • Media Kit
  • Partners
  • Endorsement Policy
  • Terms and Conditions
  • Privacy Policy
  • Cookie Policy and Cookie Solution
  • About
  • Affiliates
  • Cookie Policy (US)

Copyright © 1999–2021 The Money Pit · All Rights Reserved · Powered by BizBudding Inc

Share this ArticleLike this article? Email it to a friend!

Email sent!