LESLIE: If you’ve ever had a plumber come to your house, stay for 20 minutes and charge you a couple of hundred bucks, you may have asked yourself whether you could have handled that project yourself.
TOM: Well, the answer is maybe yes or maybe no. There are a variety of do-it-yourself-friendly plumbing projects that you can accomplish yourself with some basic skills and a few tools. Here to walk us through some of those is This Old House heating-and-plumbing contractor Richard Trethewey.
So Richard, what projects can a consumer take on and what really should be left for the pros?
RICHARD: There are some projects that a homeowner, if they’re even marginally handy, should be able to do around the house. Clearing a clog on a drain, fixing some basic toilet troubles, repairing the inside of a toilet tank and some basic leaks, they should be able to do. Probably the most common is the clogs. The kitchen sink is the biggest culprit.
There are really three ways you could clear a clog. One is chemical. Now, chemicals are the big business in the United States. You’ve seen all the drain brands on the shelf; Drano was the first and there’s a ton of them now. And these are chemicals that you pour down the drain, they sit in the pipe and they hopefully clear the stoppage to clear whatever that food stuff that’s in there.
But they also sit and work on the pipe. They sort of ferment in there. They should never go into a system that has a septic system, because you don’t want to break down the basic, biological function that’s inside of a septic system. And it’s dangerous if you splash them on your skin or in your eyes.
The other thing is if you’ve used a lot of these chemicals and you ultimately do call a plumber, you should at least caution them that you’ve got that drain filled with this caustic chemical that sort of could hurt them. So, be careful on that.
There’s an alternative to the chemical cleaners and that’s biologicals. They’re dry enzymes. And these enzymes, when they go into that water, they will start eating anything that’s organic and go after it.
And so, I one time saw an example of this where somebody put a container of this stuff down into this septic – really a cesspool; it was an open cesspool. And we left it overnight and I came back and it’s as if somebody had sent five people down there to buff and clean that thing. It was – it looked like it was brand new.
So I got to see it firsthand that these biological enzymes are pretty interesting how they scour the pipe clean. And they’re non-toxic and safe for septic.
LESLIE: Richard, what about snaking a drain? It seems like whenever you call in a pro, this is their sort of first plan of attack when they’re dealing with a clog. And I’ve seen them at the home centers. Is this something a homeowner should be like, “Look, I’m going to do this myself”?
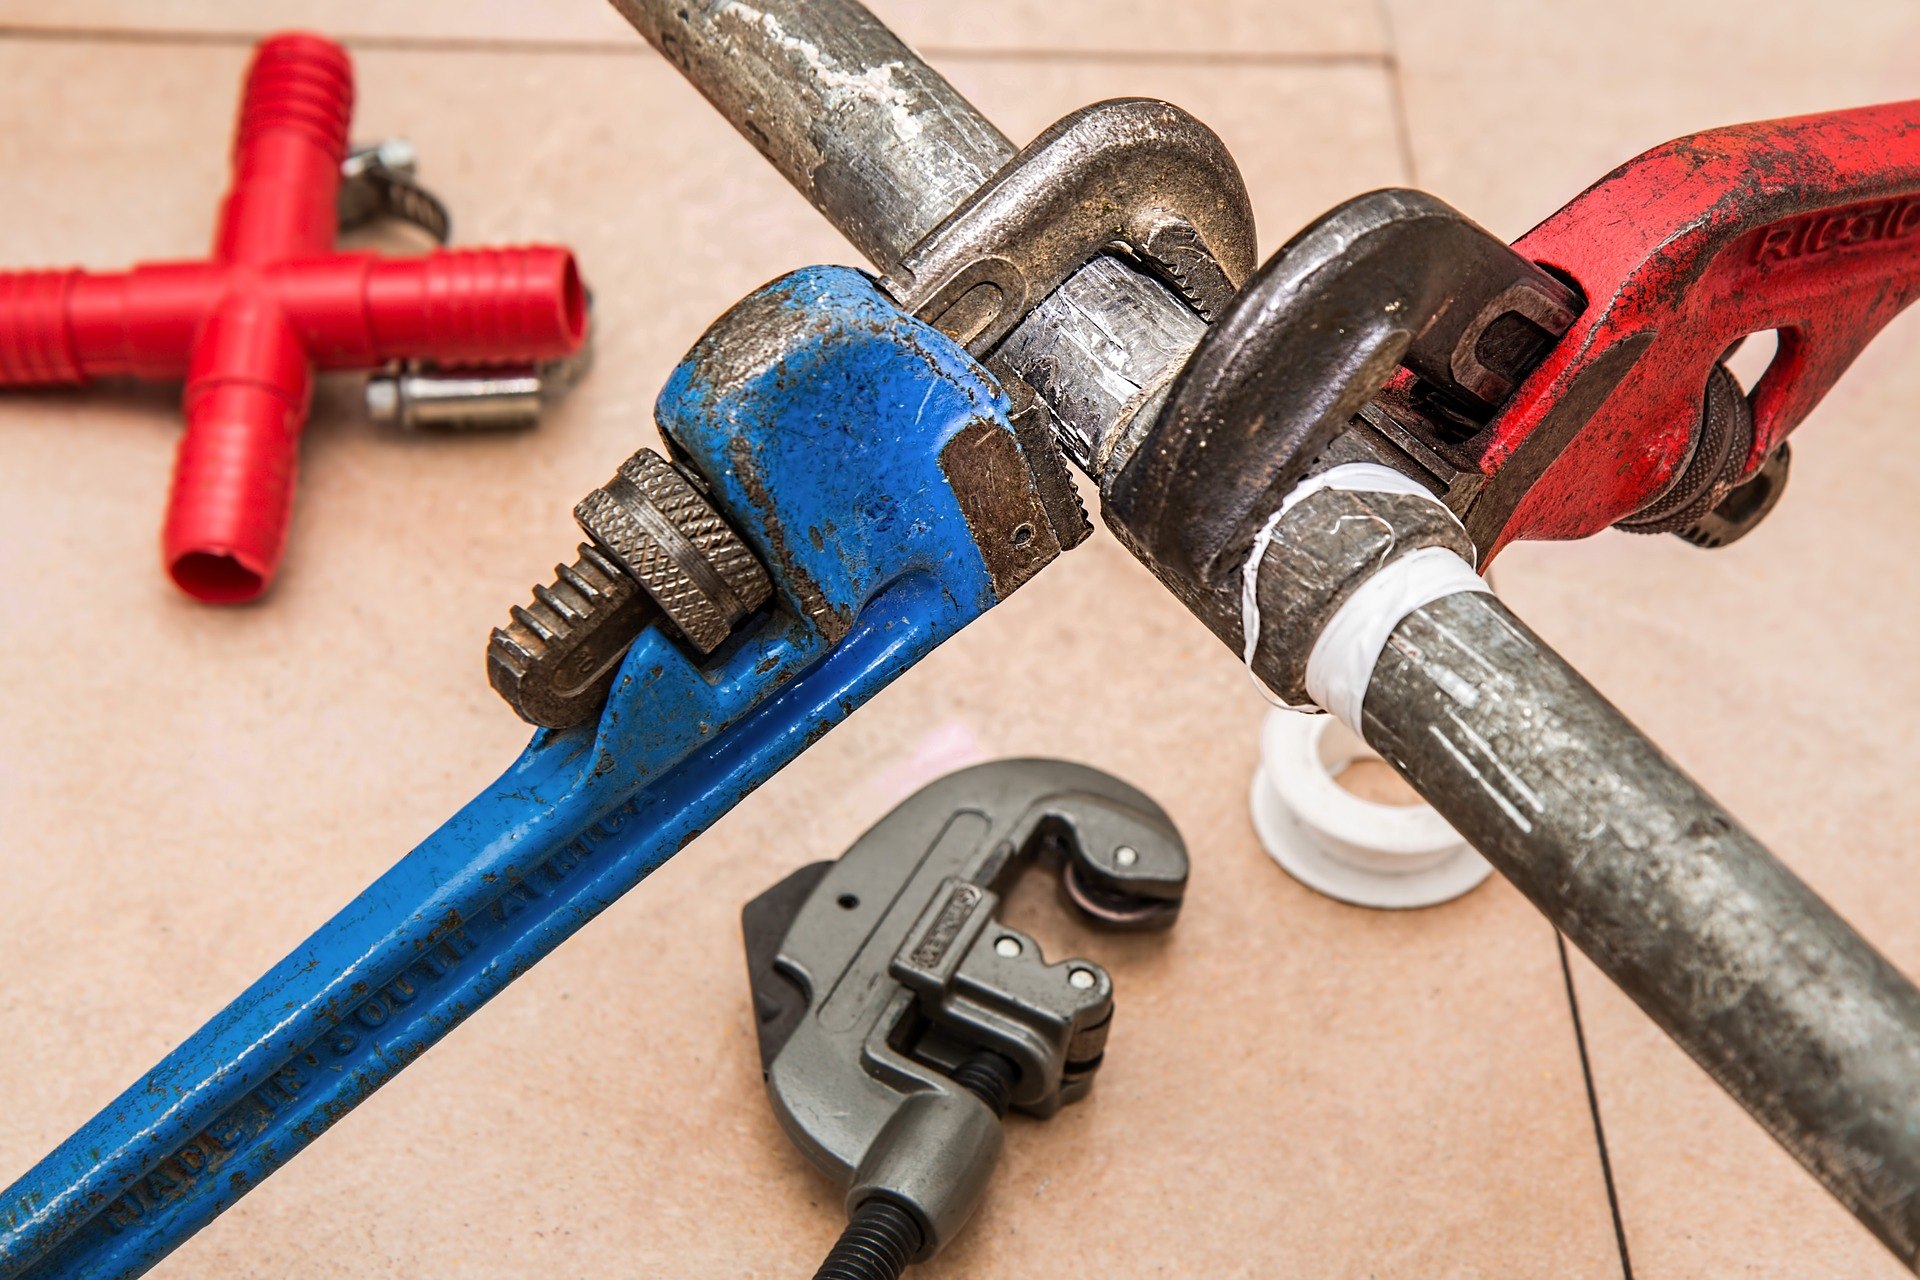
RICHARD: Well, you certainly can. And in my opinion, this is the way to clean it – mechanically cleaning it – which means you send a snake or a wire – by whatever name you want to call it – down through the trap.
And now you are spinning this wire down the drain. And as you’re doing that, you’re trying to run water, as well. And every time that wire spins, it’s scraping the side of the pipe and it’s breaking things off of both the pipes that are laid horizontally or vertically. And it’s really scouring and cleaning that. And then now you’re going to get a mechanical cleaning of that drain that I don’t think can be beat. Maybe the biologicals, on their best day, could do it.
So, any plumber, that’s the principal tool they want to use. They’re going to go in with this – either a hand snake or sometimes on kitchen sinks and main drains, you’ll have this big tool that comes that will really clear that thing. It’s the only way to do it.
Now, on a toilet you, don’t want to use that same snake. Because if you use that snake and went down through the toilet bowl, you would scratch that porcelain terribly. And we always know when somebody says, “No, I didn’t use a snake,” and you look down and you see the thing completely destroyed.
They make a specialized tool and it’s called a closet auger. It has a protective coating on the bottom. And when you put it down into the bowl, it protects the bottom of that bowl so you’re not going to scratch the porcelain. And then you turn a handle and it drives that wire up into the trapway, clears the stoppage and comes right down.
And the whole length of that wire is no more than 2½ to 3 feet, because that’s all you have to clear inside of a toilet. You’re not going to use that to clear a pipe. You’re only going to clear the trapway inside of a toilet. And toilets are a very common stoppage.
TOM: We’re talking to Richard Trethewey. He’s the plumbing and heating contractor on TV’s This Old House.
And Richard, while we’re talking about toilets, the most basic form of mechanical clearing is, of course, the plunger. And you have an interesting trick that you taught me some years ago about how to use a plunger. It’s not the push; it’s the pull with it, right?
RICHARD: That’s right. If you’ve got a hard stoppage down into that toilet bowl and now you take that plunger and push that stoppage harder – the trapway gets smaller as you go up inside it. So what you actually want to do is you want to take your plunger and get it seated down so it’s tight. And then you give a dramatic pull backwards so that you would hopefully pull that stoppage back to clear so it could get into a more open space. And then it should be able to go down the trapway.
So if you take that plunger and push it up into the trapway, you’re only going to pack it in tighter. If you have it come back, it’s going to loosen it. And that’s the right way to do it.
That’s your tip. I wasn’t going to tell anybody, though. You made me tell the truth.
LESLIE: Now, is there any sort of do-it-yourself toilet tune-ups that we should be working on, to make sure that these systems will continue to work well for us?
RICHARD: Well, the most common DIY thing around a toilet is inside that toilet tank – you look at that toilet, it’s got the bowl and it’s got the tank on the back, it has a lid. You lift that lid and you look inside and there’s almost always a flapper valve: a valve that is designed to hold water in the tank.
And if that is not holding, what happens is water leaks down from the tank to the bowl. It doesn’t leak to the floor. It just continues to leak down, from the tank to the bowl, and that will drive you crazy. You’ll get water running all the time, you’ll have ghost-flushing in the middle of the night. You’ll hear as if somebody has walked up to your toilet and flushed it. And that is really – if you look inside it, it becomes clear what has to be done.
You can sort of play around by pushing the tank lever and you’ll see what action happens. You lift the lever and then the flapper goes up. Now, if that flapper doesn’t seal properly or if it’s worn – you know, over time, it’s just going to wear out because it’s a rubber piece – and then you’ve just got to shut the water off, take that flapper out, match it with a new one that matches it and you’re back in business. And that’s something people could do.
TOM: Great advice. Richard Trethewey, the plumbing-and-heating contractor on TV’s This Old House, at great personal risk of putting plumbers out of business, giving us some do-it-yourself plumbing repair tips.
RICHARD: I don’t think so.
TOM: Thanks, Richard.
RICHARD: Great to be here, guys.


Leave a Reply