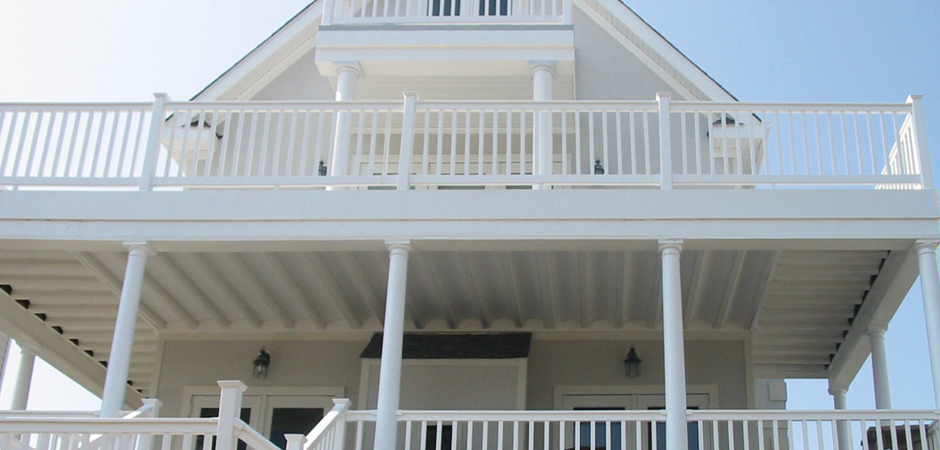
The area under second-story decks can be a dark, wet wasteland. But installing an underdeck ceiling made from lightweight, easy-to-install corrugated fiberglass panels is an inexpensive solution you can knock out over a weekend.
Here’s what you’ll need to take on this project:
TOOLS & MATERIALS
- Quick Square Tool
- Combination Square
- Tape Measure
- Miter Saw
- 2x4s
- Two 1/2″ Ceramic Deck Shoes
- Mason’s TwineChalk Line
- 1″ Galvanized Wood Screws with Neoprene Washers
- Circular Saw with Fine Toothed Blade
- Corrugated Fiberglass Panels
- 4 or 8-Foot Level & Torpedo Level
- Gutter Screws
- Table Saw (if needed)
- Plastic Gutter (if needed)
- Gutter End Caps (if needed)
- Gutter Downspout (if needed)
When taking on this DIY task, be sure to equip yourself with the proper safety gear. Throughout the video, we’ll let you know when you should and should not use the safety gear.
STEP ONE
Lay out purlin locations. You’ll start by laying out your new ceiling’s purlin locations. Do this with a tape measure, marking the bottom of each joist every three feet.
Your ceiling should pitch a quarter inch per foot. Some decks are built with a slight pitch, so be sure to check along the length of your deck joist with a four– or eight-foot level to determine the pitch before you begin.
As you measure, think about where you might add gutters. Most raised-deck designs feature joists cantilevered over a beam. If you decide to install gutters, the beam provides a convenient place to attach gutters.
Keep in mind that your ceiling panels should overhang your gutters by about an inch. Purlins are horizontal beams that will support your ceiling.
STEP TWO
Cut purlins. Measure the width across your joist at each mark to determine the length of each purlin. Your first purlin will be three feet from your house.
Rip it on a table saw to 3/4ths of an inch by one and a half inches. Then, cut to length with a miter saw. Continue adding 3/4ths of an inch every three feet. Confirm and cut the length of each piece across your joists.
If you’re adding gutters, be sure to leave space for them when installing your last purlin.
STEP THREE
Install purlins. Fasten the purlins with 2-1/2-inch deck screws, running them perpendicular to the joists. If you use more than one two by four to make each purlin, cut them so they end over the middle of a joist.
STEP FOUR
Install panels. Measure the length of your deck so you know what size, and how many corrugated fiberglass panels to use. We used 12-foot panels for this installation.
The panels are attached with one-inch galvanized wood screws that come with neoprene washers to make the holes watertight. Overlap the panels by one corrugated ripple and screw them into the purlins, using one screw for every other ripple.
If the last panel is too wide, you can either increase the overlap, or rip it to width with a table or circular saw. If you need to cross-cut panels, use a circular saw fitted with a fine-tooth blade or an abrasive wheel to cut panels to length.
STEP FIVE
Install gutters. Use a level to ensure your gutter has a slight pitch in the direction you’d like it to drain. It should have a half-inch slope every 10 feet toward the end of the beam where you plan to install or tie into an existing downspout. Install the gutter with gutter screws every 24 inches.
You’re all done! Your underdeck area has been transformed into a brand-new outdoor space.
Prefabricated Under Deck Ceilings
If you don’t want to build the ceiling from scratch, there are many types of prefabricated under deck ceiling systems that can be added when the deck is being built, or installed after the deck has been built. The designs vary but all perform essentially the same function: capture the water that drains through the deck flooring; and secondly direct that water to a type of rainwater collection system which captures and discharges the water much like a home gutters and leaders capture roof run off.
Here’s a review of several worth considering:
- Under Deck – This system consists of PVC rails nailed to the joists. They are placed so a slight slope is created directing the rain to gutters. Panels of vinyl are placed between the joists, which complete the system and finished look.
- Timbertech – Their product called DrySpace consists of brackets slipped over the joists to create the drainage slope into gutters. It is completed with vinyl ceiling sheets that have a U shape to direct the water there.
- Trex’s RainEscape – This product is perfect for someone wanting a wood finished ceiling. It consists of a flexible plastic sheet trough that is placed against the bottom of the upper deck flooring between the joists. Downspouts, flashing, tape, and caulk are also used. The system uses a slope like the others to drain the water and debris. Then the ceiling can be finished in wood panels that simulate beadboard, or other desired material.
- Dekdrain – The Dekdrain system comes in models that are installed at the time of new construction or after the deck has been built. One of the key differences is it is made of rubber instead of plastic or vinyl. Rubber will not crack and seals tighter. A fastening system is used instead of sealants or caulks that can be messy. Then you finish the ceiling with your choice of materials.


My under the deck joists run away from the house but my area is 16 feet by 7 feet and the 16 runs perpendicular to the joists so I am planning on running my purloins parallel with the joists. My main question is what to do on the ends of the plastic corrugated roofing to make it waterproof. Do I use caulk or run like a J channel ??
Video mentioned 2 1/2 inch deck screws. The purlins will be more than 3 inch thick for a 16 Ft. deck on the last row. How to put a 2 1/2 inch screw in a 3 inch purlin and assume it also needs to go well into the deck joist as well. Does it mean deck screw goes half way through in the purlin? May be 1 inch in purlin and 1 1/2 in the deck?
I have a deck that is covered with vinyl do I need to set up a drainage system ceiling or is there a simpler way to build a ceiling for under this deck?
At the house, how do you waterproof? For example, my deck has flashing against the house. The flashing comes about an inch below the deck floor. Depending on the pitch, the fiberglass panels are either going to buttress the side of the house on or below the flashing. It seems that water will drip through the siding/flashing and fiberglass panel connection. Do I just caulk where the fiberglass roofing hits the flashing or siding?
In step 4 when installing the panels, can you tell me what the pieces are called that the ends of the panels are installed between? Something up by the ledger board.
I think you are talking about the floor joists or box beam.