A continuously running toilet isn’t something you have to live with and you don’t need to be a plumber to fix it. This common household problem is typically caused by a fill valve that fails to shut off the water when your tank is full. If this is the case, the valve either needs to be adjusted or replaced. Repairing a running toilet is inexpensive, fast, and easy. Here’s what you’ll need to complete this project:
TOOLS & MATERIALS
-
- Philips Screwdriver
- Sm. Adjustable Wrench
- Tongue & Groove Pliers
- Fill Valve
- Sponge
When taking on this DIY task, be sure to equip yourself with the proper safety gear. We’ll let you know throughout the video when you should and should not use the safety gear.
STEP ONE
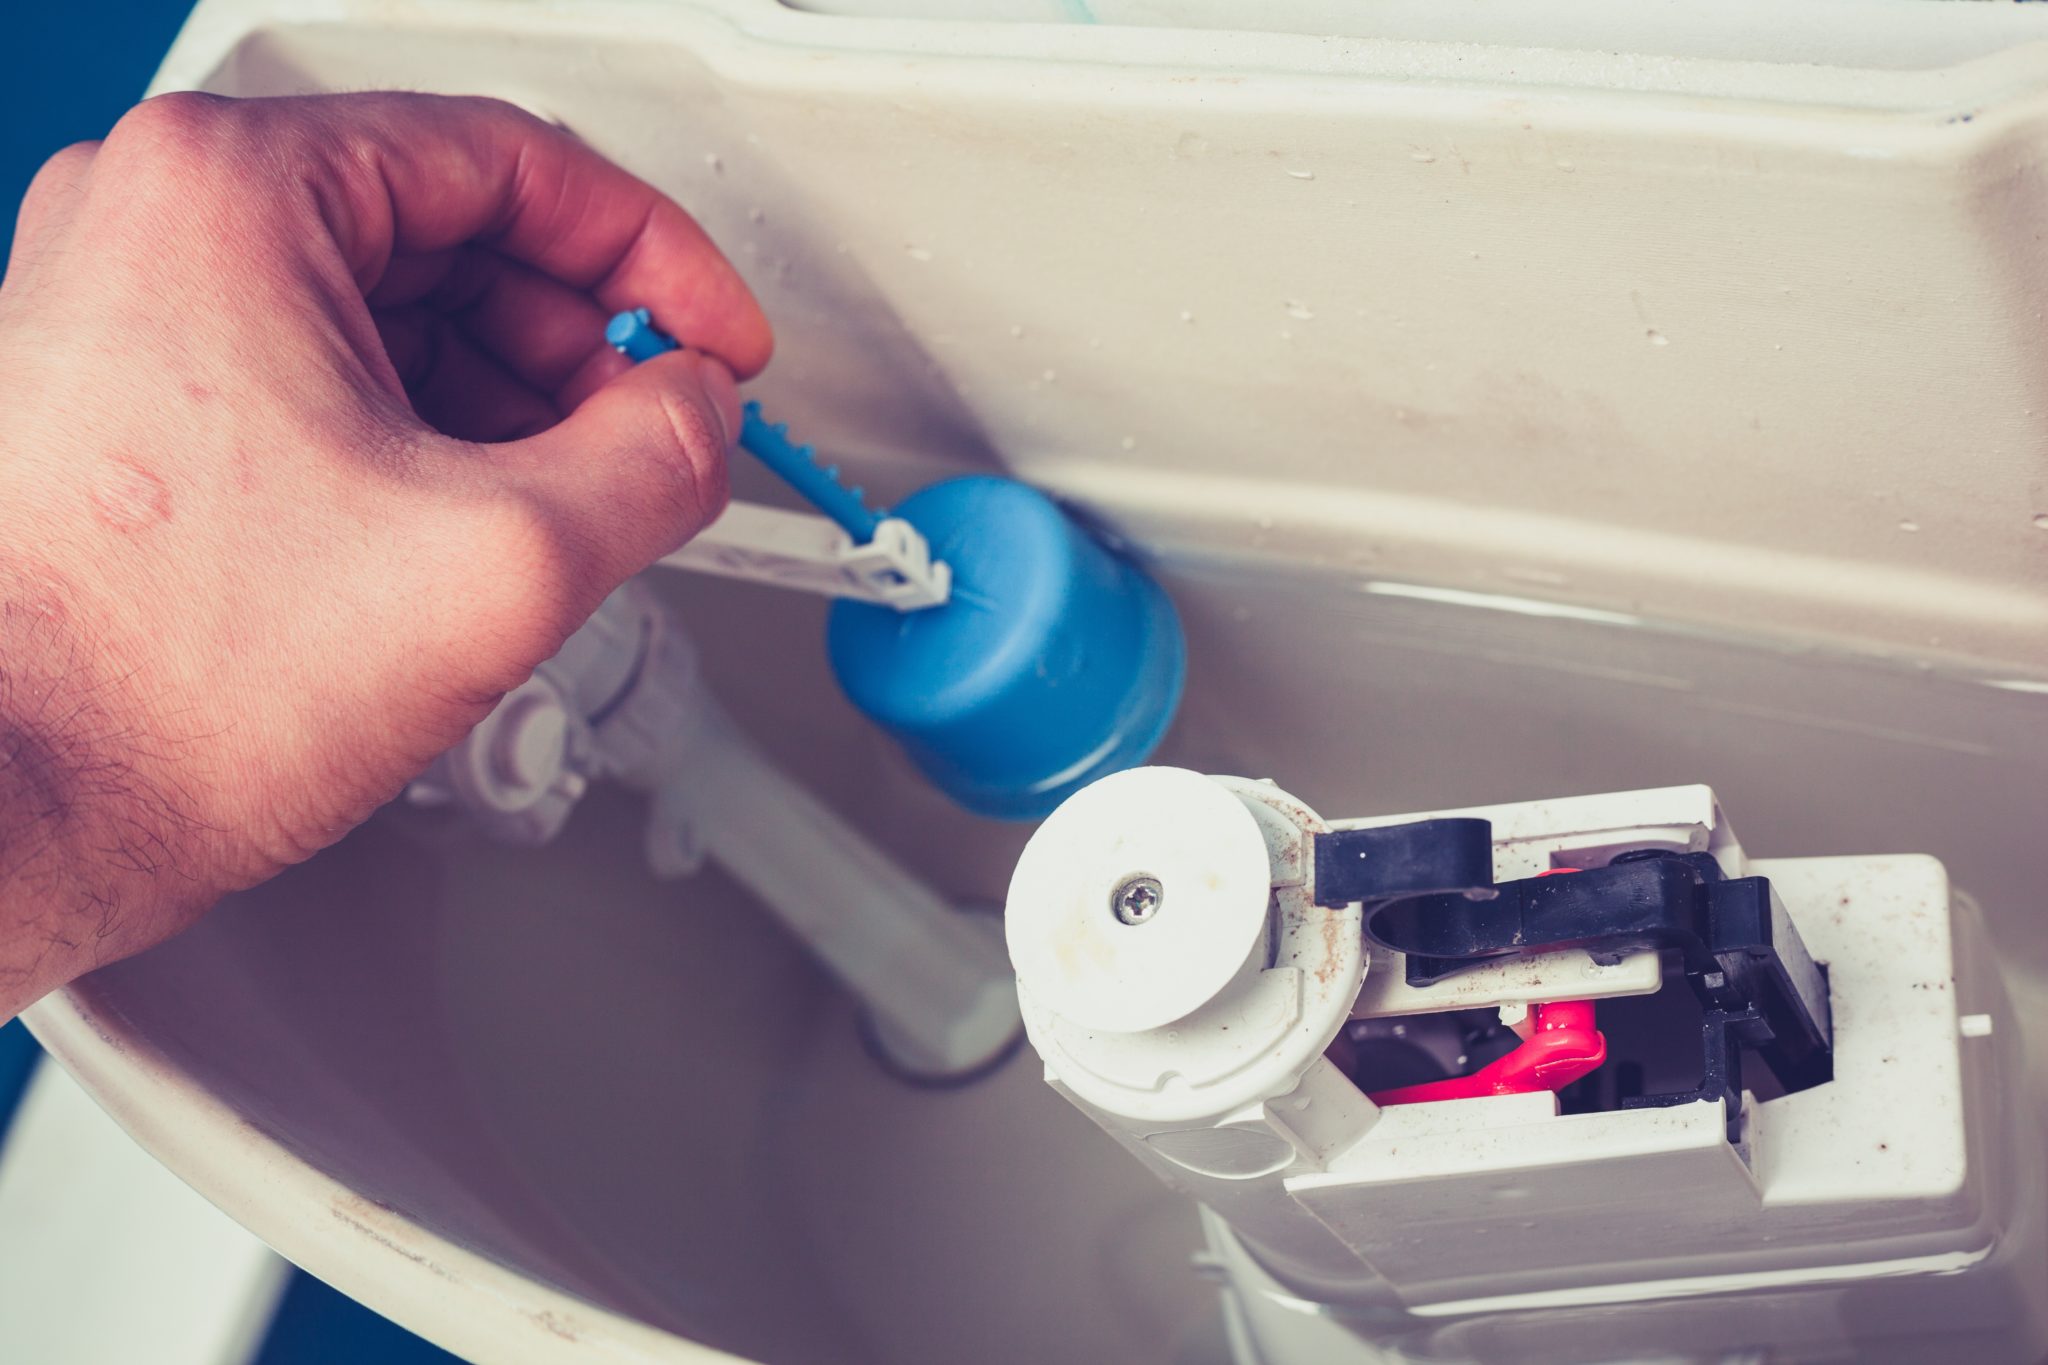
Adjust float mechanism. If the fill valve is connected to a ball float, use a Philips head screwdriver to turn the screw clockwise until the ball turns off the water. If the float moves up the valve body, it may be clipped to a metal rod connected to the fill valve lever. Squeeze the clip and move the float down until it turns off the water. Newer mechanisms may feature a button or a ridged knob to adjust the float height.
STEP TWO
Drain tank. If adjusting the flow doesn’t fix the problem, you’ll need to replace the fill valve. To do this, start by turning off the water at the stop valve. You can find this either on the wall or the floor. After closing the valve, tighten the nut to prevent leaking. Flush the toilet, holding the handle down a few extra seconds to drain the tank as much as possible. Use a sponge to soak up any water remaining in the tank.
STEP THREE
Disconnect water supply. The water supply tube is connected to the toilet with plastic coupling on the bottom of the tank. Disconnect it using tongue and groove pliers if it’s too tight to turn by hand.
STEP FOUR
Replace valve. Under the tank, you’ll find a plastic nut that secures the fill valve. Use tongue and groove pliers to remove it. Then pull the valve out of the toilet. Insert the new valve, secure it with the plastic nut, and reattach the water supply by hand tightening the coupling. Turn the water back on and check for leaks as the toilet fills. If necessary, adjust the float as described in step one.
Your repair is complete!
Looking for great tools to help get your project done? Shop Stanley, Black & Decker and DeWALT for everything you need!


Leave a Reply