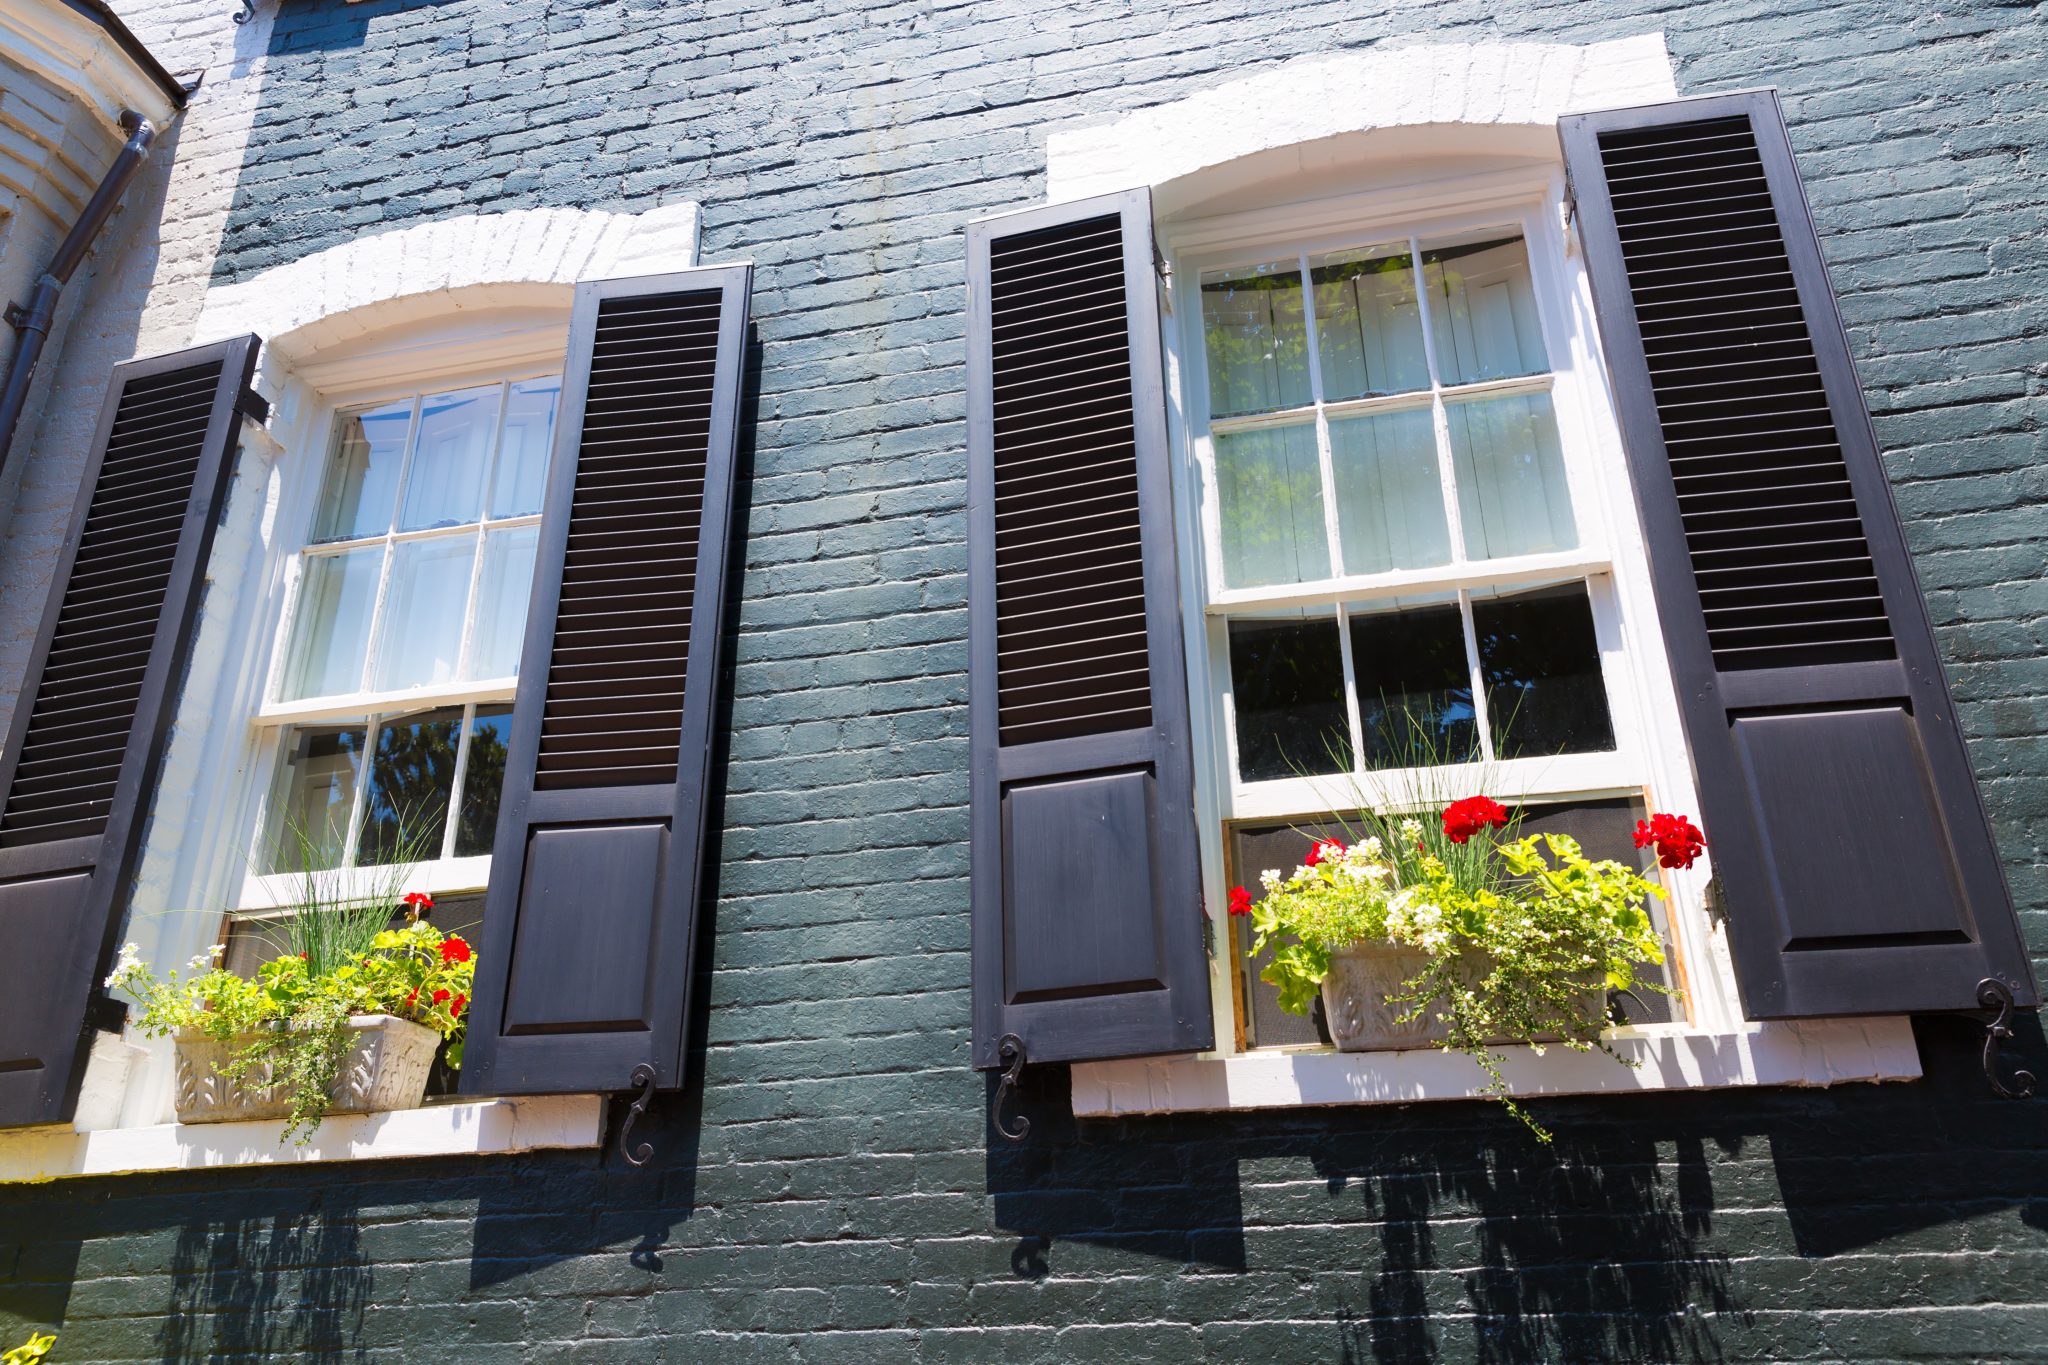
Decorative exterior shutters are an easy way to boost your home’s curb appeal. Available in a wide variety of styles and colors, they require minimal maintenance, and are easier than you think to install yourself.
Here’s what you’ll need for this beginner’s-level DIY project, which should take you about one hour for each pair of shutters.
TOOLS & MATERIALS
- Drill
- Hammer Drill (Brick)
- Tape Measure
- Masonry Drill Bit (Brick)
- Wood Drill Bit
- Hammer
- Clamps
- Sawhorses
- Exterior Shutters
- Shutter Hardware
We also recommend having a friend on hand to help hold shutters in place.
When taking on this DIY task, be sure to equip yourself with the proper safety gear.
STEP ONE
Measure windows and purchase shutters. Before buying exterior shutters, decide if you’d like them in the same length as your window glass or long enough to cover both your windows and window casing. Measure your windows with a tape measure, then purchase shutters that meet your needs and personal style.
STEP TWO
Locate holes. Have a friend hold your new shutters in place, and use a level to align them along the window. Mark the shutters for holes on each side, about two inches from the top and bottom. If the shutter is longer than 55 inches, mark an additional two holes halfway along its length.
STEP THREE
Drill shutter holes. Clamp each shutter to sawhorses and drill the holes you’ve marked, first, checking manufacturer instructions for the appropriate bit to use.
STEP FOUR
Drill holes into wall. With your helper holding the shutter in place, use a one-quarter-inch diameter bit, or the manufacturer’s recommended bit to drill about two and a half inches into the wall.
STEP FIVE
Install shutter. Tap vinyl fasteners through the shutter into the holes with a hammer. Repeat this process until all shutters are in place.
Your installation is complete!
Looking for great tools to help get your project done? Shop Stanley, Black & Decker and DeWALT for everything you need!


Leave a Reply